
With no minimum order quantity and no setup fee, Direct-to-Film (DTF) transfers make it possible to create personalized products. Baseball moms passionately support their little superstar making them an ideal audience for personalized photo prints. In this tutorial, we’ll show you how to take the standard baseball photo and turn it into a design that mom will rock every time she cheers on her slugger from the stands.
SETUP
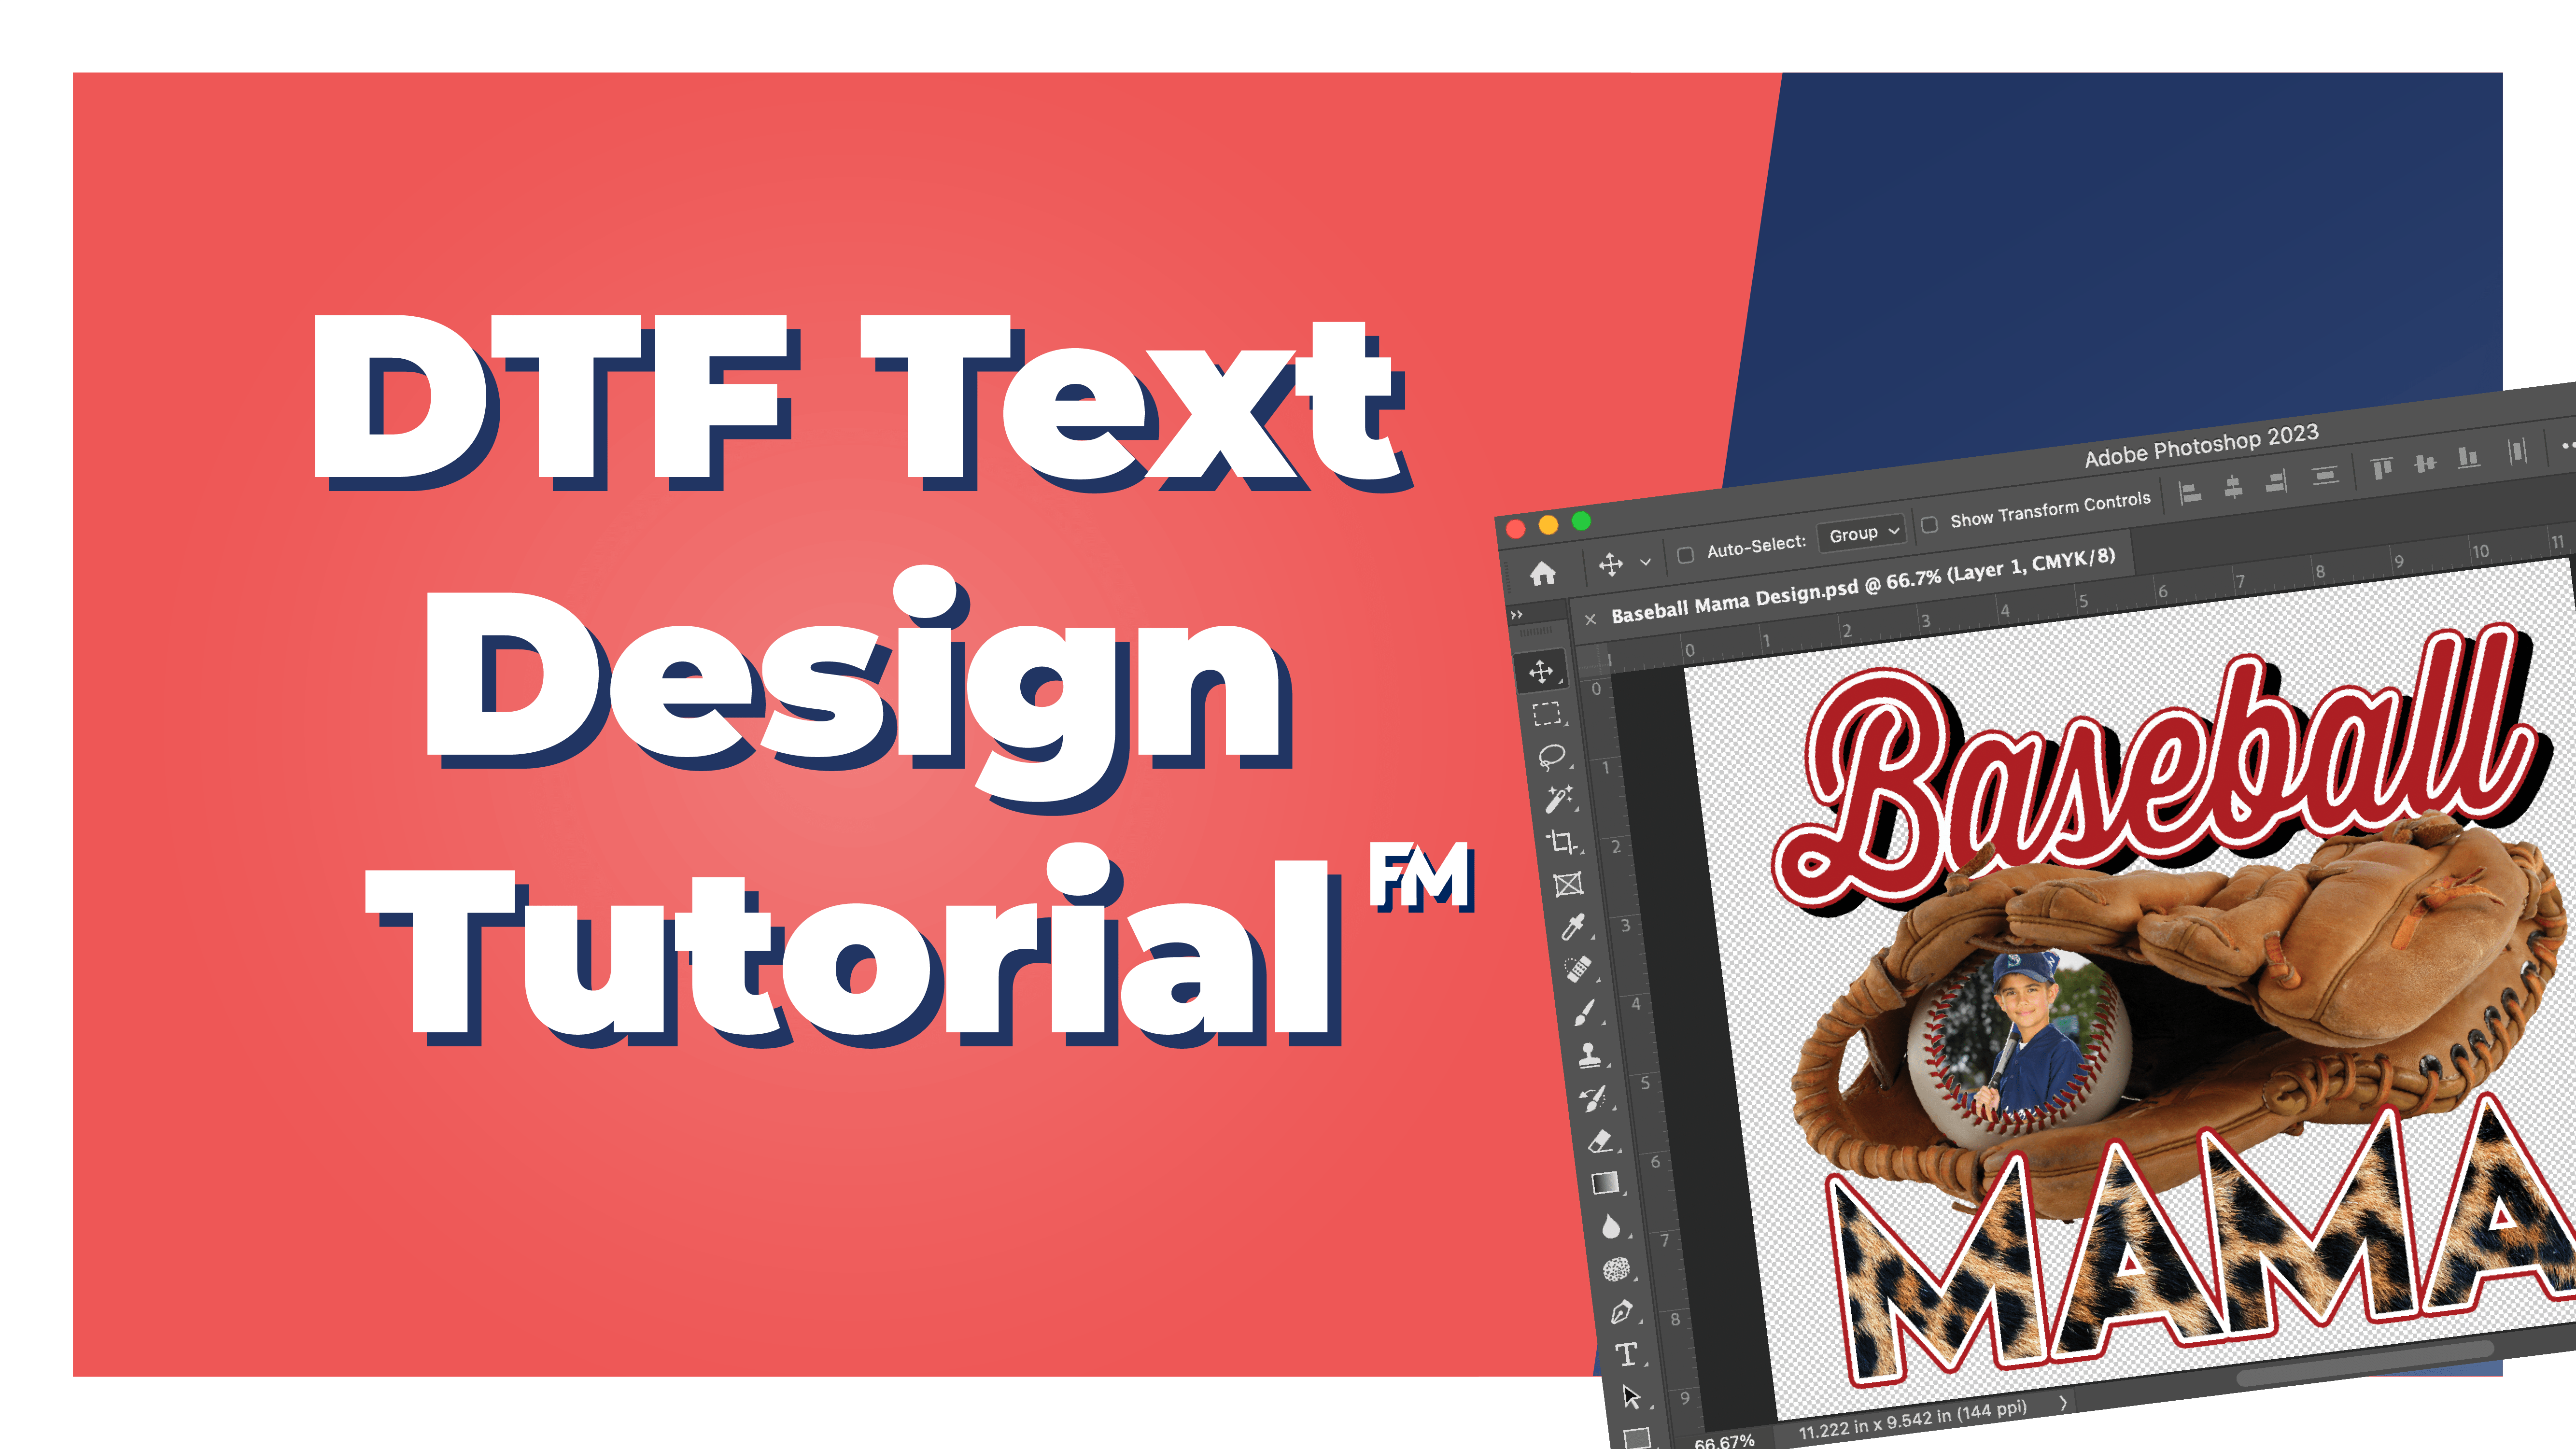
First things first, start with a 12-inch by 12-inch artboard that is 300 dpi in CMYK color mode. You can always make the image smaller and maintain the resolution, you can’t make it bigger. Scaling up a design creates a pixelated blurry loss of detail.
ELEMENTS
I found a high-resolution, royalty-free picture of a baseball with a glove and removed the white background. I also started with a high-quality photograph of our baseball player. For the text effect, we have a high-resolution, royalty-free photo of a leopard pattern.
STEP 1 - Make a mask of the baseball.
Select the Magic Wand tool and set the tolerance to 12. Hold down Shift and select the areas of the baseball that you want to mask. You may find that you need to undo a selection (COMMAND + Z) and adjust the tolerance to make it work on the photo you select.
Don’t worry if the selection isn’t perfect, we can clean it up later.
Go to LAYER > NEW FILL LAYER > OKAY and select white from the color picker (C:0 M:0 Y:0 K:0).
STEP 2 – Clean up the Mask
Clean up the mask by selecting the mask rectangle. You can use the paintbrush tool and white fill color to fill in the areas you missed. Conversely, you can use the eraser tool to remove unwanted areas.
STEP 3 – Mask the Photo
Place your photo on the layer above your mask and position it over the mask shape.
Hold down the OPTION and click on the line between the layers in the layer panel. Alternatively, you can right-click on the photo layer and select CREATE CLIPPING MASK.
Adjust the position of the photo within the frame.
Select the mask layer and change the blend mode from NORMAL to MULTIPLY. Select the Photograph Layer and change the blend mode from NORMAL to MULTIPLY. This should make the photo appear to be part of the baseball. Depending on the contrast of your image you may want to try different blend modes to get the ideal result for your photo.
STEP 4 – Text Effect
We created a text layer using a baseball-style script font below our baseball glove. Add a white stroke and set the width to your desired pixels. In this example, I used 35 pixels.
Duplicate the text layer and move it below the original layer. Add a stroke to your duplicated layer and change the stroke color to your color of choice.
Duplicate the text a third time and move it below the other two text layers. Change the text color and stroke to black. Holding down SHIFT use the arrow keys to nudge the layer down and to the right to create a shadow effect.
STEP 5 – Pattern Text Effect
For our “MAMA” text we want to add a fill pattern. To do this we are going to use the same clipping mask technique, but instead of clipping it to a shape, we’re going to clip to text.
Place the pattern over the text layer. With the pattern layer selected hold down OPTION and click the line in between the pattern layer and the text layer. Alternatively, you can right-click and select CREATE CLIPPING MASK.
To add the outline and the shadow, repeat the process of step 4 to add and edit the strokes.
Make sure your design is set to the size you want it to print. Save your file and upload it to FMExpressions.com to get your personalized DTF transfer.